Showing posts with label chocolate. Show all posts
Friday, April 13, 2012
Another Chocolate Chip Cookie Miette Style
I never tire of trying Chocolate Chip Cookie recipes. There are some better than others, but for the most part, these all-time favorites are always a best-loved treat for the family and neighborhood kids.
This recipe comes from a cookbook called Miette. I have to say, if I was a cookbook, I wouldn't mind looking like Miette. The photos are beautiful. The size is perfect, but the best aesthetic exterior feature is the adorable scalloped edge. The scalloped edge was the first thing that attracted me to this book. What budding baker could resist cracking open a book that has such beautiful feminine detail? Love it!
Labels:
chocolate,
cookies,
desserts,
Kids Can Cook,
recipes
Sunday, April 08, 2012
Easter Birds Nests
We tried another bird's nest idea this Easter. This one is with Chow Mein noodles and Whoppers Robin Eggs. It's a very simple combination of ingredients, yet they are OH SO tasty!
My Girlie made them along with her BFF. I love their friendship! Lots of giggles, and lots of fun!
How cute are they?!?! |
Labels:
chocolate,
desserts,
Easter,
friends,
holidays,
homeschool,
kids,
Kids Can Cook,
recipes
Sunday, December 11, 2011
Dangerously Tasty Peanut Butter Brownie Trifle
There are some desserts that are not only pretty to look at, but they bring out expressions like "OH MY WORD!" They are great for a crowd, but dangerous for an individual or even a small family. Each bite feels like my my jeans are getting tighter and I'll be paying with intense workouts in the coming week. I immensely enjoyed a couple bites and called it good.
This recipe is from How Sweet It Is. I just recently found this blog on Pinterest. Perusing the fantastic ideas on Pinterest sometimes makes me feel like an underachiever with a poorly designed blog and no fashion sense, so I don't go there all too often. Occasionally, I'll wind down in bed looking at beautiful decor, food, and clothing combos, but one can get quickly overwhelmed by great ideas.
Last night we hosted the dessert portion of a church middle school progressive dinner. It was the perfect opportunity to try out this dessert. Needless to say, with a houseful of teenagers and their leaders, it went quick!
The Trifle. A whole lot of goodness thrown together in a pretty bowl. Delicious!
Peanut Butter Brownie Trifle
The Layers:
Brownies
1 batch of boxed brownies made in a 9X13 pan, cooled and cut into small cubes
Chocolate Pudding
1 large box (5-ounce) instant chocolate pudding, prepared and chilled
Peanut Butter Cups
1 bag peanut butter cups, chopped (I opted to not top the trifle with them also. Too many calories already)
Whipped Cream
2 cups heavy cream plus 3-4 granulated sugar, beat into whipped cream with stiff high peaks.
Make whipped cream and chill in refrigerator until ready to use.
Peanut Butter Filling
1 cup creamy peanut butter
8 ounces cream cheese, at room temperature.
1 cup powdered sugar
2 tablespoons milk
Beat peanut butter and cream cheese until creamy. Add powdered sugar. Mix. Add 2 tablespoons of milk. Fold in 1 cup of the whipped cream from above. Set aside.
Layering
Layer ingredients in the trifle dish. Layer brownies, peanut butter filling, peanut butter cups, chocolate filling, then whipped cream. I did each in thirds, finishing the top with whipped cream and then grated dark chocolate.
Dessert is probably the most important stage of the meal, since it will be the last thing your guests remember before they pass out all over the table.
Thursday, November 03, 2011
Kids Can Cook: Chocolate Chip Cookies
Compliments of our kids- I had nothing to do with the beautiful display! |
Throughout the years of our homeschooling journey, I've discovered educating our children is about more than just academics. It's about developing godly character and preparing our children for adult life. In preparing them for adult life, one area I've really spent time with them on is being confident in the kitchen.
One day, when our littles move out of the house, I hope they'll be able to open a cookbook and prepare a wonderful, healthy meal for themselves or others.
A recipe they have mastered is Chocolate Chip Cookies. Each one of them can make a delicious, mouth watering batch of cookies in less than a half hour.
I truly believe in order to make cooking and baking inviting to children a parent needs to:
- Allow children to experiment. Not every recipe will turn out, but most will. I think the averages are higher for success than failure! Just read the recipe ahead of time, make sure you have the ingredients and get to cooking! Mom and dad, stand back, guide the kids, but don't do it all for them.
- Make cookbooks and recipes available and accessible. Make trips to the local library, bookstore or check out Amazon for great cookbooks finds. Sit around and look at the books marking recipes they want to try.
- Be okay with a mess. The best, most productive kitchens make a lot of dirty dishes. Don't stress over dirty dishes.
- Let your kids bless others with their creations. A plate of warm cookies to a neighbor blesses them and your child will experience the blessing of giving.
- Allow your child to be part of the whole process: shopping, preparing, and clean-up. If they're involved in all facets they take ownership in the process and develop independence in the kitchen.
- Let your children know you believe in them. Praise them in the kitchen!
As shown in the photo above, our children have mastered beautiful Chocolate Chip Cookies. I no longer help them at all in the baking of their all-time favorite. Our youngest still needs help getting the cookie sheets in and out of the oven, but other than that she's completely independent in the process.
We use our recipe so often we have it taped inside the cupboard door above our Kitchen Aid mixer. This way, all the kids need to do is open the cupboard and there they find their favorite recipe.
Chocolate Chip Cookies
1 cup butter, melted (2 cubes)
3/4 cup sugar
3/4 cup brown sugar
1 egg
1 teaspoon vanilla
1 teaspoon baking soda
1 teaspoon salt
2 3/4 cups all-purpose flour
Mix butter and sugars until combined. Add egg and vanilla, mix well. Add dry ingredients.
Bake at 375 degrees for 10 minutes, or until lightly golden brown.
De-Lish! |
Labels:
chocolate,
cookies,
desserts,
homeschool,
kids,
Kids Can Cook,
Kitchen,
recipes
Monday, October 10, 2011
Decadent Chocolate Cupcakes with Chocolate Ganache Frosting: Gluten Free, Vegan and Paleo-ish
Everyone has a birthday and most likely, even if you're on a very regimented eating program you still want to celebrate your special day with a little treat. Today one of our fellow Crossfiters celebrated her special day. She's gluten-free and many of us try to eat a paleo diet so I found a recipe that would fit the bill. Note this isn't completely sweetener free as it has agave, but as far as birthday sweets go, I think it is a keeper.
I found the recipe on nourishing meals.com
Gluten-Free Chocolate Brownie Cupcakes with Chocolate Ganache Frosting
Ingredients
3 cups blanched almond flour (Almond flour can be very expensive, but I have found the finely ground almond meal works well and is and economical alternative).
1/2 cup cocoa powder
2 tablespoons arrowroot powder
2 teaspoons baking powder
1/2 teaspoon sea salt
1/4 teaspoon xanthan gum
1 cup canned coconut milk (full fat)
1/2 cup agave nectar
1/4 cup grapeseed oil
1 tablespoon vanilla extract
Preheat oven to 350 degrees. Line one 12-cup muffin tin with paper muffin cups.
In a medium-size mixing bowl sift together the almond flour, cocoa powder, arrowroot, baking powder, sea salt, and xanthan gum.
In a separate bowl whisk together the remaining wet ingredients. Add the wet to the dry and whisk together well.
Spoon batter into prepared muffin cups. Bake for about 25 minutes. Let cool in the pan for a few minutes before transferring to a wire rack to cool.
Chocolate Ganache Frosting
1/2 cup dark or semi-sweet chocolate (about 3 ounces)
1/4 cup canned coconut milk
2-3 tablespoons agave nectar
Place all ingredients in a small saucepan. Heat over low heat melting chocolate. Stir continuously until melted and thickened, about 2 minutes. If frosting is a bit too thick, add a additional tablespoon of coconut milk. Taste to make sure it is a suitable sweetness. Remove from heat and let cool about 5 minutes then spoon over cupcakes.
So shiny! Almost like a chocolate mirror! |
A delicious, rich, paleo-ish, sugar-free, vegan, gluten-free dessert option! Enjoy! |
Labels:
Birthdays,
brownies,
cakes,
chocolate,
cupcakes,
desserts,
gluten-free,
Paleo,
recipes,
vegan,
vegetarian
Thursday, August 25, 2011
Brownie S'mores
On August 10th we celebrated National S'mores Day. I often wonder who determines national days of celebration as this, but we'll gladly participate!
Rather than just making s'mores we made S'mores Brownies. This is an easy dessert kids can make. They do need help with the oven, but the mixing and topping is a fun activity for the littles.
S'mores Brownies
(recipe from About.com)
Ingredients
1 box fudge brownie mix
1/3 cup water
3 eggs
3 tablespoons canola oil
2 cups mini marshmallows
2 whole graham crackers
1/4 cup mini chocolate chips
1.Preheat oven to 350 degrees F. Spray a 9 x 13 pan with nonstick cooking spray.
2.Beat brownie mix, water, eggs and oil together, about 50 strokes.
3.Pour into prepared pan. Bake 20-24 minutes, until a knife inserted in the center comes out mostly clean.
4.Sprinkle marshmallows over brownies. Break up graham crackers into bite-sized pieces, and nestle them between the marshmallows, pressing gently into the brownies to make them stick. Raise the oven temperature to broil. Return the brownies to oven (on the middle rack - not too close to the ceiling of the oven), and bake 1-3 more minutes, until the marshmallows brown. Watch carefully, so the marshmallows don't burn. Let the brownies cool 15 minutes before cutting.
We may have added a few extra marshmallows, graham crackers and chocolate. |
Loaded with goodness! |
Be careful...the marshmallows brown SO quickly! |
Amazing, gooey yumminess! |
Thursday, July 14, 2011
Black Bottom Cupcakes- A Favorite!
Growing up, a favorite treat was a tasty, moist, gooey Black Bottom Cup. These little yummies are one of my all-time favorites. They are a moist chocolate cupcake with a sweet cream cheese filling in the center. The cream cheese has mini chocolate chips added for another chocolaty surprise.
The other day I made a meal for a friend and wanted a delicious dessert to finish it. Packed away in storage, is my cookbook with my mom's recipe for these little gems so I had to find an online recipe that would measure up. I think we did pretty well. I usually don't make desserts I LOVE because I'm too tempted and will want to eat them all up on my own. My will power has definitely been tested this week!
These cupcakes are fairly easy to make, but you do end up dirtying up a couple large bowls. I do recommend making the cream cheese mixture in a food processor. It's hard to really get the cream cheese smooth enough if doing it by hand. An electric mixer should work well too.
I can't even stand blogging about these will power breakers! I HAVE to go eat one! |
Ingredients
Cream Cheese mixture:
1 (8 ounce) package cream cheese, softened
1 egg
1/3 cup sugar
1/8 teaspoon salt
1 cup mini-semisweet chocolate chips
Chocolate Cupcakes:
1 1/2 cups all-purpose flour
1 cup sugar
1/4 cup unsweetened cocoa powder
1 teaspoon baking soda
1/2 teaspoon salt
1 cup water
1/3 cup vegetable oil
1 tablespoon cider vinegar
1 teaspoon vanilla extract
Directions:
Preheat oven to 350 degrees. Line muffin tins with paper cups.
In a medium bowl, beat the cream cheese, egg, 1/3 cup sugar and 1/8 teaspoon salt until light and fluffy. Stir in the mini chocolate chips. Set aside.
In a large bowl, sift together the flour, 1 cup sugar, cocoa, baking soda and 1/2 teaspoon salt. Make a well in the center and add the water, oil, vinegar and vanilla. Stir together until blended.
Fill muffin tins 1/3 full with the batter and then top with a dollop of the cream cheese mixture.
Bake 25-30 minutes in preheated oven.
Yum! Enjoy! |
Monday, May 30, 2011
Day 7, A Cake-A-Day: Rootbeer Bundt Cake (A.K.A. Insanely Amazing Chocolate Cake!!)
The name of this cake is misleading. The recipe was described as having a "pronounced" root beer flavor. I was expecting something root beer-ish, like a root beer float. I can't describe this cake as having a "pronounced" root beer taste. In fact, I didn't really taste the root beer at all, but what I did taste was an incredibly delectable, moist, semi-dense rich chocolate cake. If you're a fan of scrumptious chocolate cakes, this is a cake for you!
First off, I'd like to mention this cake is from a wonderful cookbook titled Baked by Matt Lewis and Renato Poliafito. Matt and Renato own a bakery called Baked in Brooklyn, New York. I had the opportunity to meet Matt and Renato last year. They were delightful men with fresh ideas in baking. One day I hope to visit their bakery for a firsthand experience.
Here I am with Matt and Renato |
Baked- The freshly baked cookbook |
Cake:
2 cups root beer (do not use diet)
1 cup dark unsweetened cocoa powder
1/2 cup (1 stick) butter, cut into 1-inch pieces
1 1/4 cups granulated sugar
1/2 cup firmly packed dark brown sugar
2 cups all-purpose flour
1 1/4 teaspoons baking soda
1 teaspoon salt
2 large eggs
Preheat oven to 325 degrees. Generously butter inside of a bundt pan, dust with flour. Set aside.
Pan is buttered and dusted |
Butter, cocoa, and root beer |
Cocoa mixture with sugars- let cool |
Dry ingredients, whisked |
The eggs whisked. Notice the cute new bowl from Crate and Barrel? Love it! |
Lumpy batter |
The cake, ready for the oven |
Finished baking |
You can just see how moist this cake is! |
Ready for frosting |
Frosting coming up... |
2 ounces dark chocolate (60% cacao) melted and slightly cooled
1/2 cup (1 stick) unsalted butter (I always use unsalted butter), softened
1 teaspoon salt
1/4 cup root beer
2/3 cup unsweetened cocoa powder
2 1/2 cups confectioners' sugar (powdered sugar)
Put all the ingredients in a food processor. Pulse in short bursts until the frosting is shiny and smooth. Use a spatula to spread the fudge frosting over the crown of the bundt in a thick layer. Let the frosting set before serving, with ice cream on the side.
I'd like to introduce you to my new Cuisinart. My faithful Cuisinart Custom 11 has served me well for the last 18.5 years, but she needs to rest. It's time for the younger generation to take over. |
Tastes even better than it looks |
Speechless...so good! |
Serve with ice cream and a little chocolate sauce. Enjoy! |
Labels:
Baking,
Birthdays,
Books Books Books,
cakes,
celebrity chefs,
chocolate,
Cookbooks,
desserts,
recipes
Saturday, May 28, 2011
Day 5, A Cake-A-Day: Rich Chocolate Layer Cake
Today I left the cake choice up to our middle son. He requested I make his favorite cake. We have to make some adjustments to the recipe to make it his favorite, like leave out the coconut and the nuts. Basically, it's chocolate, chocolate on chocolate. He LOVES chocolate, especially creamy milk chocolate. Here he is four years ago with his favorite cake.
![]() |
Rich Chocolate Layer Cake and Soccer Cupcakes |
Remember one of my favorite cookbooks from this week's German Chocolate Cake?
I will post the complete recipe as it is in the book, but note, we make it without the coconut and nuts in the frosting. Also, I made Baker Josef's (Trader Joe's) box frosting then added the sour cream and vanilla to it.
Rich Chocolate Layer Cake
1 box devil's food cake mix
1/4 cup unsweetened cocoa
1 cup mayonnaise
3 large eggs
1 cup water
2 16-ounce containers chocolate frosting
1/4 cup sour cream
2 teaspoons vanilla extract
1 cup sweetened flaked coconut, toasted
1/2 cup chopped almonds, toasted
Preheat oven to 350 degrees. Butter two cake pans, place a parchment paper circle in the bottom of each pan. Butter the parchment. Dust pans with flour. Set aside. Beat the cake mix, cocoa, mayo, eggs and water in a mixer on low speed until mixed, then increase speed to medium and beat for about 2 minutes.
Divide the batter equally between the prepared pans and spread evenly. Bake for about 35 minutes or until tester inserted in center comes out clean. Cool pans on wire rack about 20 minutes. Use a knife to loosen edges and then invert cakes on wire rack. Let cool completely.
Cooling on wire rack |
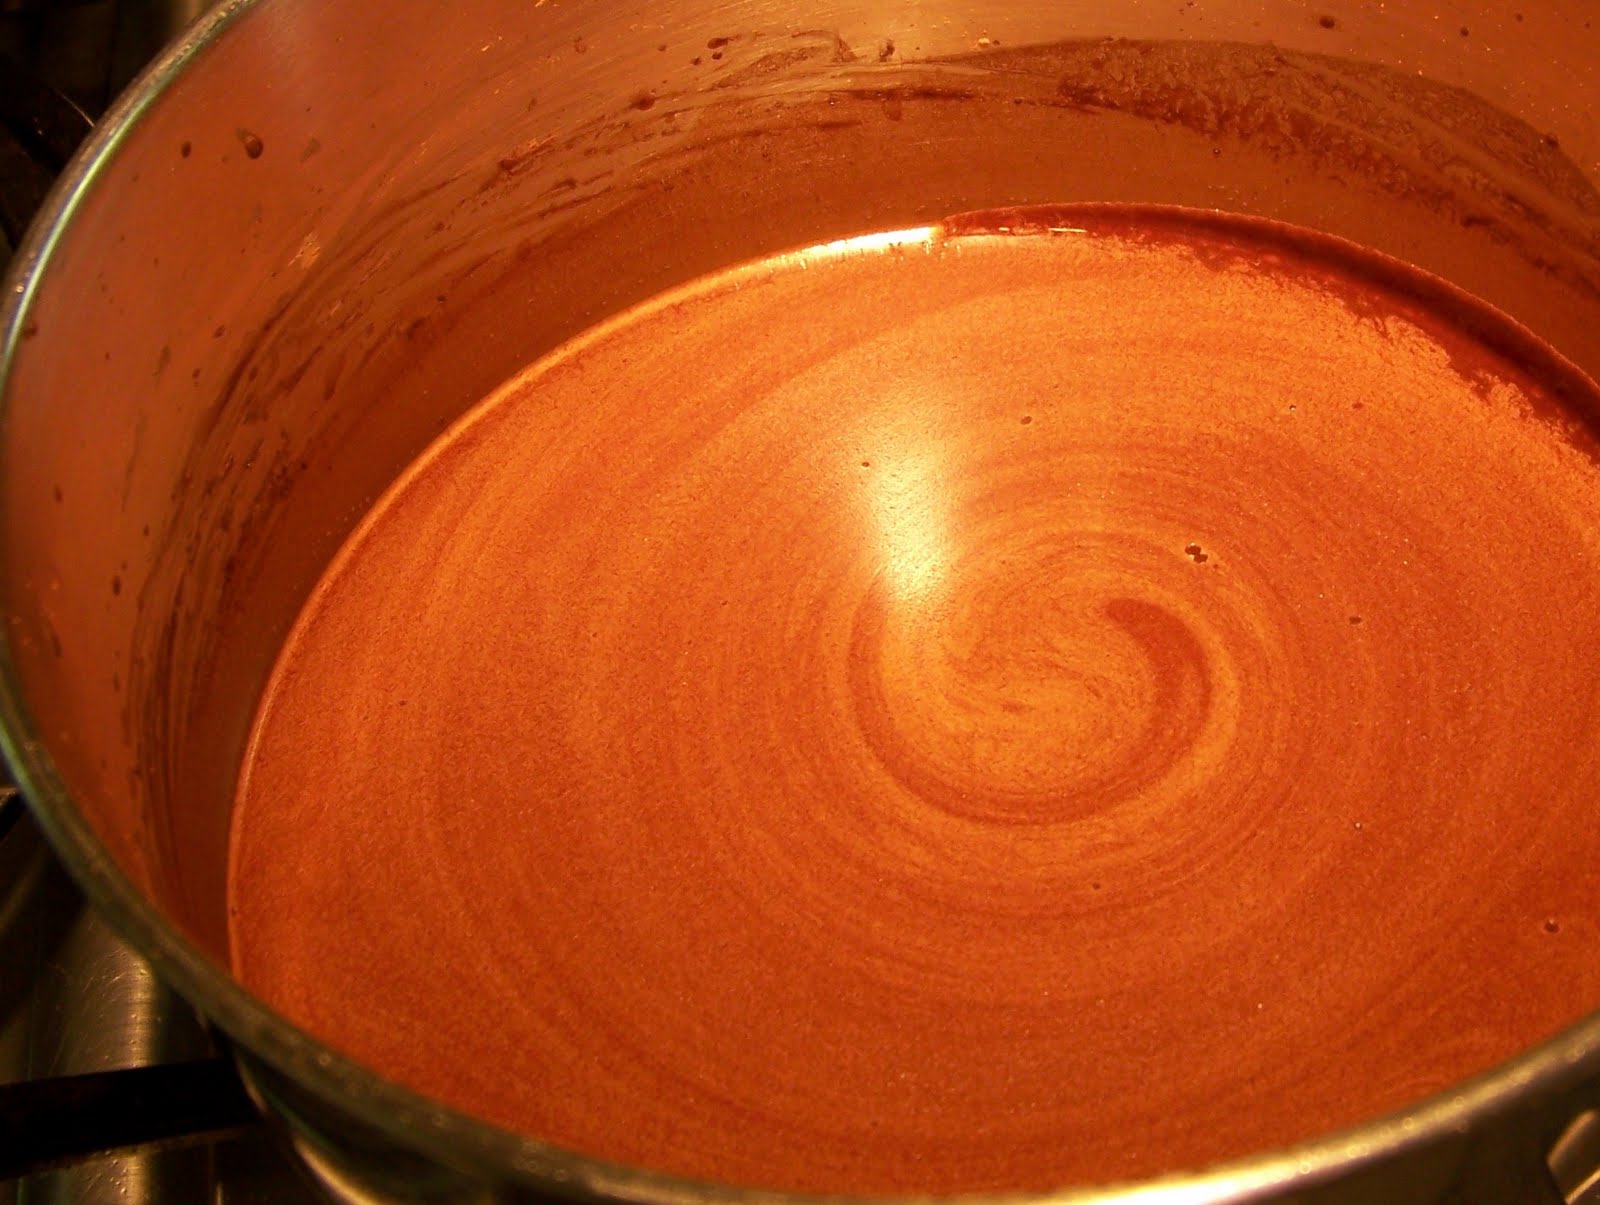
Whisk the frosting, sour cream and vanilla together in large bowl. Instead of container frosting this time we used Baker Josef's Chocolate box frosting. I just saw it at the store. I noticed Trader Joe's is expanding their baking section. Woo Hoo! Make it as directed, then add vanilla and sour cream
Baker Josef's new addition at Trader Joe's |
Use a serrated knife, or if you have one of these cool kitchen gadgets, cut each cake layer in half.
This is a GREAT tool for making cake layers! |
Layer 1 done |
Enjoy!!! |
Subscribe to:
Posts (Atom)